How to Clean Concrete Floor for Staining: 7 Essential Steps for Perfect Results
Concrete staining is one of the most beautiful and cost-effective ways to transform a plain concrete slab into a rich, vibrant, and unique floor. The process, which involves applying a chemical solution that reacts with the concrete’s minerals, creates a translucent, mottled, and permanent color that mimics the look of natural stone or leather.
However, the success of any concrete staining project, whether you’re aiming for a deep, rich color or a subtle, polished look, hinges entirely on one critical factor: surface preparation. If the concrete is not perfectly clean, the stain will not react properly, leading to blotchy, uneven, and disappointing results.
At Lara’s Concrete Solutions, we know that preparation is 90% of the job. While we offer professional
Concrete Staining services, we are happy to share the essential steps required to prepare your concrete for a flawless finish.
The Golden Rule: Cleanliness is Everything
Stains, sealers, and coatings all require a clean, porous surface to bond or react properly. Any contaminants—such as dirt, grease, oil, old sealers, or curing compounds—will act as a barrier, preventing the stain from penetrating the concrete.
Here are the 7 essential steps for preparing your concrete floor for staining:
Step 1: Clear the Area and Initial Sweep
Remove all furniture, equipment, and debris from the area. Use a stiff-bristle broom or a shop vacuum to remove all loose dirt and dust. This is a simple but crucial first step to avoid turning dust into mud during the wet cleaning process.
Step 2: Degrease and Remove Oil Stains
Oil, grease, and tire marks are the biggest enemies of a successful stain. Apply a commercial-grade concrete degreaser or a poultice specifically designed for oil removal. Allow the product to dwell according to the manufacturer's instructions, then scrub vigorously with a stiff brush. Rinse thoroughly with hot water. Do not skip this step—any residual oil will repel the stain.
Step 3: Remove Existing Sealers or Coatings
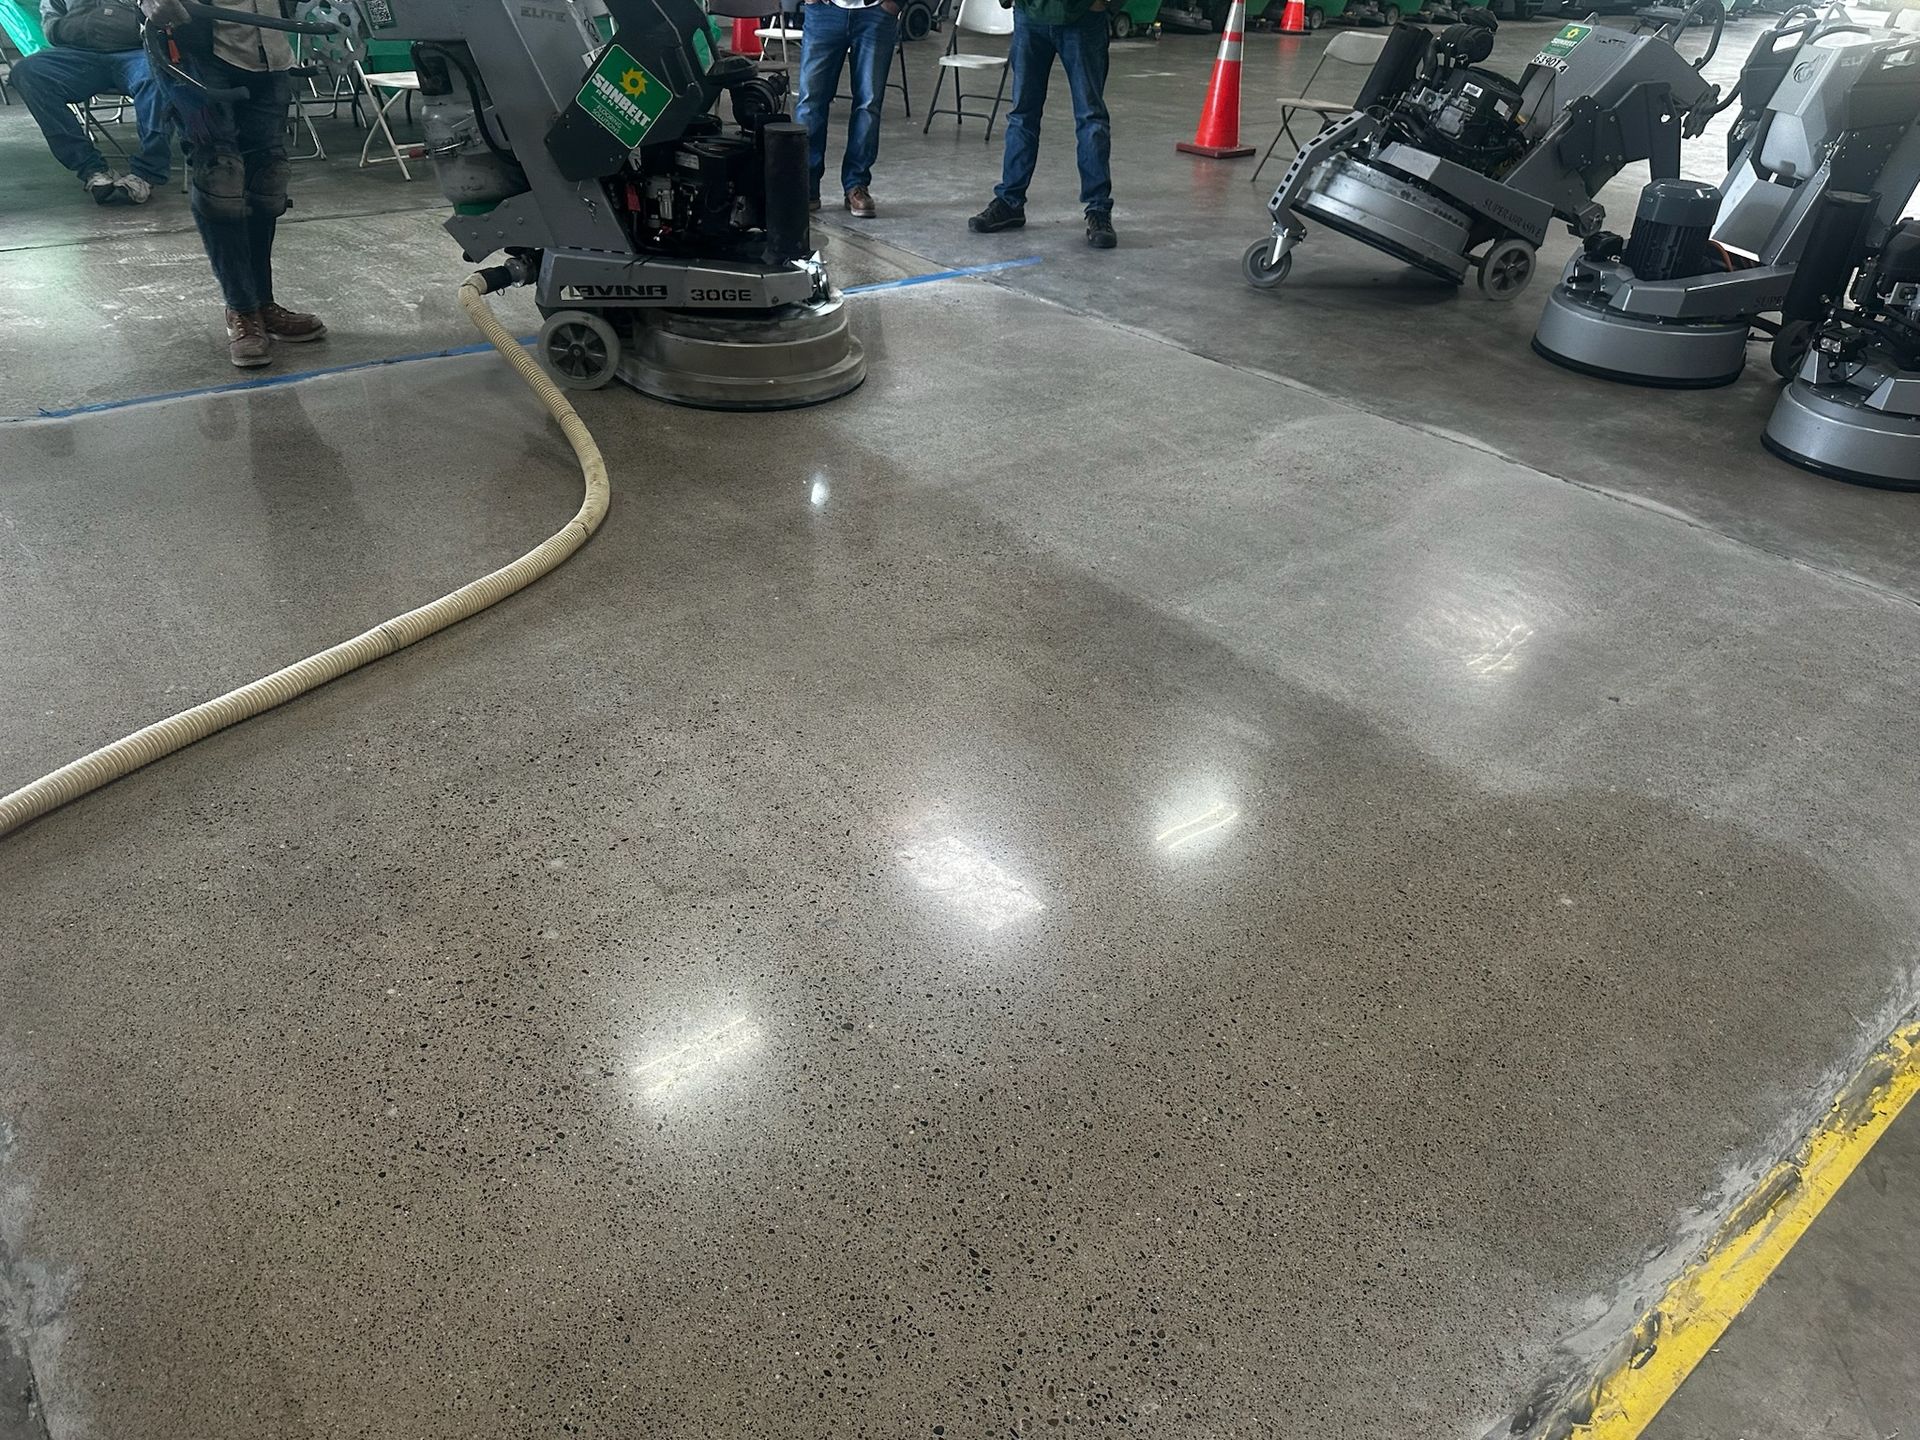
If your concrete has been previously sealed, painted, or coated (even with a clear sealer), it must be completely removed. Stains cannot penetrate a sealed surface. This typically requires mechanical removal using a diamond grinder or a chemical stripper. For professional results, Lara’s Concrete Solutions utilizes industrial Concrete Grind & Seal techniques to ensure a perfectly bare surface.
Step 4: Etch the Concrete (If Necessary)
For very dense or smooth concrete, a mild acid etching solution (like muriatic acid diluted with water) may be necessary to open up the pores and allow the stain to penetrate deeply. Caution: Acid etching is hazardous and requires proper safety gear and ventilation. Always follow instructions precisely and neutralize the acid with a baking soda solution afterward.
Step 5: Thorough Rinsing and Neutralization
After degreasing and/or etching, the floor must be rinsed multiple times. Use a pressure washer (for exterior concrete) or a stiff brush and clean water (for interior concrete). The goal is to remove all chemical residue. If you used an acid etch, you must neutralize the surface with an alkaline solution to stop the chemical reaction.
Step 6: Allow for Complete Drying
This step is often rushed, but it is vital. The concrete must be completely dry before the stain is applied. Depending on humidity and temperature, this can take 24 to 48 hours. Using large fans and dehumidifiers can speed up the process. A damp surface will dilute the stain and inhibit the chemical reaction.
Step 7: Final Inspection and Touch-Ups
Before applying the stain, perform a final inspection. The concrete should look uniformly clean and feel slightly rough to the touch (like fine sandpaper). If you see any areas where water beads up (indicating residual oil or sealer), repeat the cleaning process on those spots.
The Professional Touch: Lara’s Concrete Solutions
While DIY preparation is possible, achieving the perfect canvas for staining is a labor-intensive and technically demanding process. When you choose Lara’s Concrete Solutions for your Residential Concrete project, you benefit from our professional-grade equipment and expertise. We ensure the surface is profiled correctly, all contaminants are removed, and the concrete is ready to accept the stain for a deep, vibrant, and lasting color.
Whether you are looking for a simple Concrete Polishing finish or a full stain and seal, proper preparation is the foundation of a beautiful floor.
Ready To Achieve A Stunning, Professionally Stained Concrete Floor?
Don't risk a blotchy, uneven finish by cutting corners on preparation. Trust the experts at Lara’s Concrete Solutions to handle the hard work, ensuring your concrete is perfectly prepped and beautifully stained. We deliver results that last.
Contact us today
to discuss your concrete staining project and get a free estimate!